Whether you’re looking for a leaky roof repair, full-blown roof damage restoration, residential roof services, or commercial roof repair, in this guide by 214 Flooring, we will walk you through the 5 most essential steps of roof repair. Even though DIY seems like an easy option for affordable roof repair, only a local roofing expert can conduct a thorough roof inspection and maintenance efficiently and effectively with detailed attention and precision. For your safety, it’s recommended to get a roofing contractor for professional roof damage restoration.
Roof Repair: Protect Your Home’s Shield
Your roof is more than just a structural element—it’s your home’s first line of defense against the elements. From heavy rainfall and scorching heat to snow, hail, and strong winds, your roof protects everything underneath it. Without proper maintenance, even the strongest roofing materials can deteriorate over time.
That’s why timely roof repair is essential. At 214 Roofing, we understand the importance of acting quickly when signs of roof damage appear. Whether it’s a minor leak, missing shingles, or storm damage, our team is here to restore your roof’s integrity before the issue worsens.
Don’t wait until a small problem turns into a costly replacement—trust us for expert roof repair services that keep your home safe and sound.
5-Step Guide to Roof Repair
Are you experiencing visible signs of roof damage? Is your roof leaking due to missing or broken shingles? Don’t worry. We have the perfect step-by-step guide for you and some considerations that you need to be mindful of before taking any informed decision.
Here is the 5-step guide to roof repair:
Step 01: Inspect Your Roof and Identify the Leaks
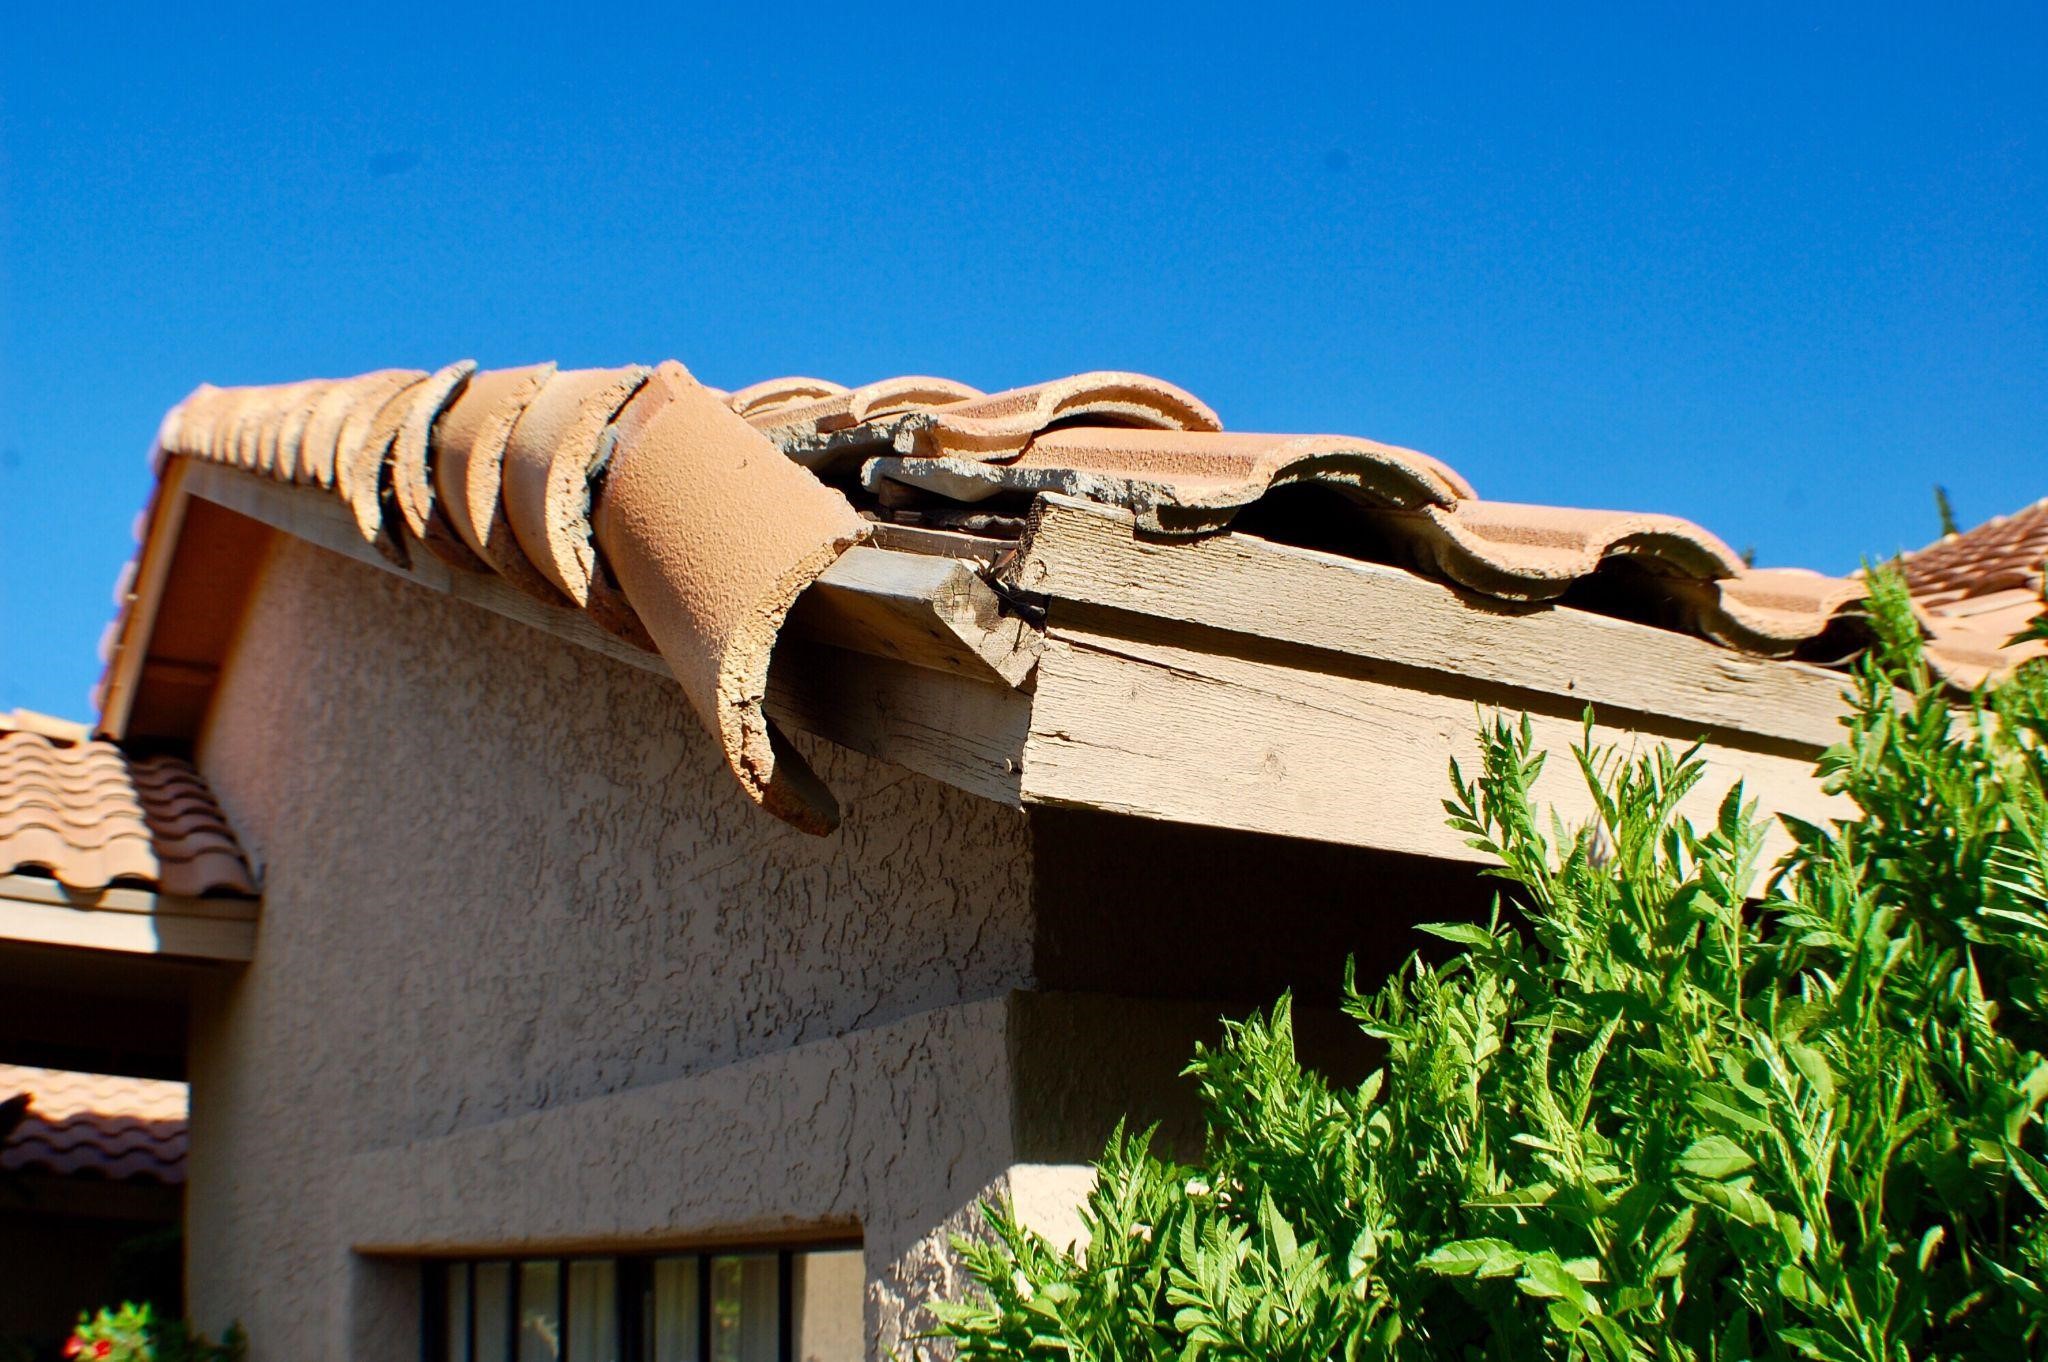
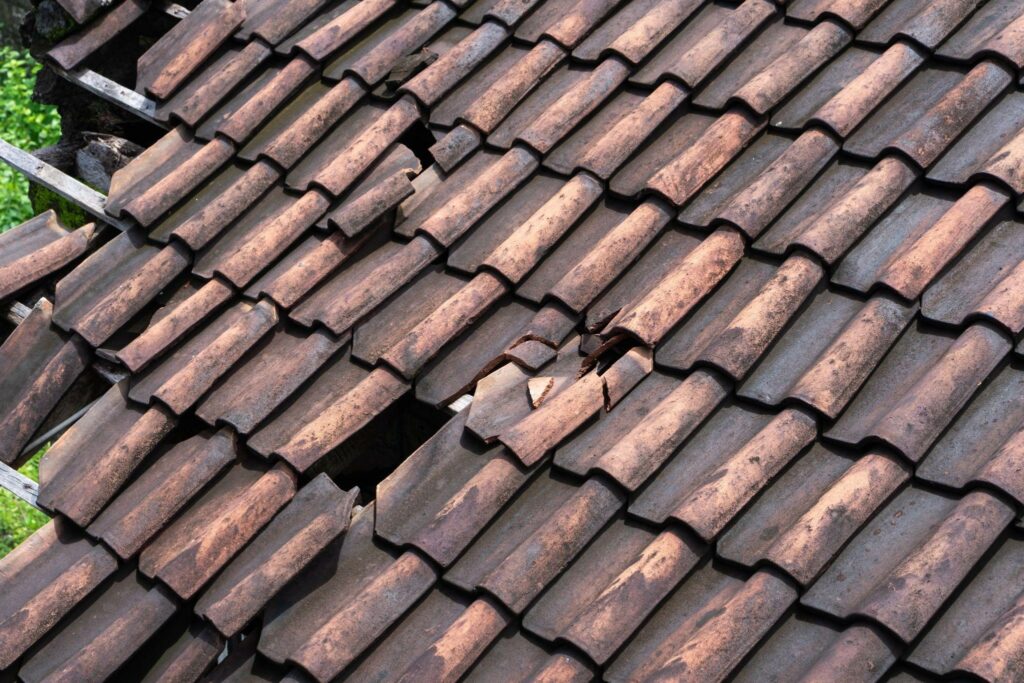
The first step is always proper inspection and assessment of visible damage signs, both on the roof and inside, such as a leaky roof, missing shingles, cracks, or mold and mildew as signs of water penetration.
|
Pro Tip If you can’t detect the leak indoors, or if it’s not visible, wait for rain and observe the roof to see where water is seeping in. |
Step 02: Check the Warranty
Check the warranty or insurance policy you have for your roof. If the material’s warranty and the lifespan have not expired, the insurance company or the roofing contractor might cover your residential roof services or commercial roof repair.
|
Did You Know? There are two main types of warranties. One is a contractor’s warranty, where the roofing contractor will give you coverage for poor installation issues. Second is the manufacturer’s warranty, which offers coverage for defects in roofing material. |
Step 03: Choose the Right Materials and Tools
The most important, yet the most neglected step: choosing the right materials. First, you need to know the type of material installed on your roof: asphalt shingles, roofing nails, roofing sealant, or flashing. Then, gather the right materials and proper tools: a ladder, a crowbar, a hammer, and a sealant gun to replace the damaged parts.
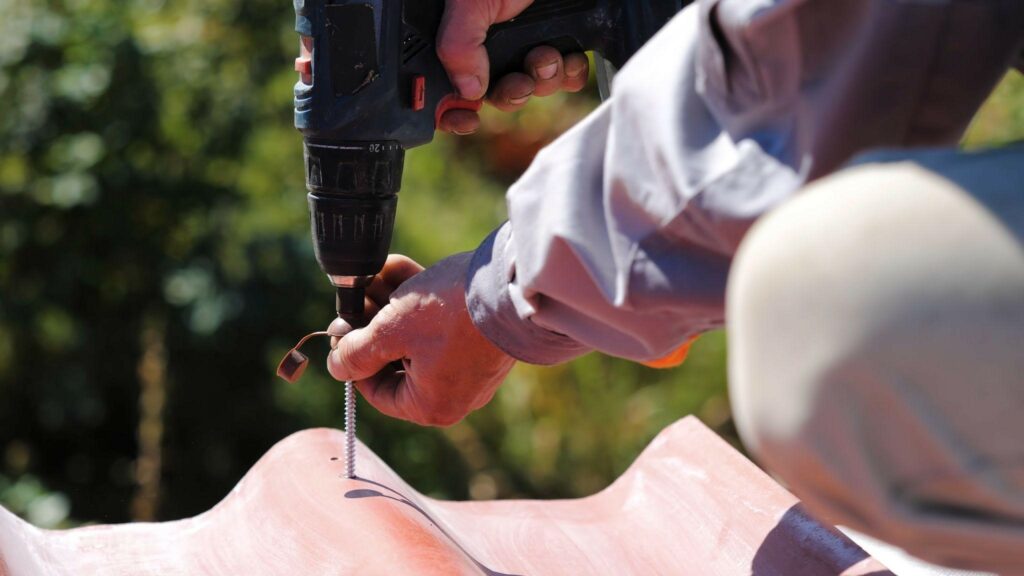
Step 04: Replace the Damaged Shingles and Flashing
Now, it’s finally time to carefully repair all the damaged parts of your roof.
|
Shingles |
Flashing |
| Remove the shingles by using a crowbar and loosening nails, then install new ones, ensuring proper overlap and alignment with existing ones. Lastly, secure the new shingles with roofing nails. |
In case of damaged flashing, the metal covering around chimneys, vents, and other roof penetrations, first check for loose or damaged parts and then either tighten them or replace them with a new one.
|
Step 05: Seal the Cracks and Give a Finishing Touch
Last but not least, sealing the gaps with a finishing touch. This step is significant to overcome all the potential roof problems that may arise. Apply a high-quality roofing sealant to any small cracks, holes, or seams from where water could seep in, and a roofing cement for larger holes.
Important Considerations to Follow
By following the above steps, you will have your roof, the ultimate shelter, repaired easily in no time. But there are always some risks that you need to avoid.
✅ Always prioritize safety when working on a roof repair.
✅ Wear appropriate footwear, use a ladder, and consider using a safety harness, especially on steep roofs.
✅ Always repair your roof on a sunny day and avoid a wet roof, as it can be slippery and dangerous.
✅ If the damage is extensive or you’re unsure about the repairs, consult a professional roofing contractor.
Conclusion
In a nutshell, first assess the area and identify all the damages that need to be repaired. Then, gather the premium quality materials and the right tools to repair the damaged or missing shingles and flashing with proper alignment and precision. Don’t forget to go through the safety measures as well, and hire a local roofing expert if you’re unsure about the method and want an affordable roof repair, along with roof inspection and roof maintenance services.
FAQS
1: How to locate a leak in the roof?
Look for the visible signs of moisture. Outside the roof, look for dark spots on the roofing material, and on the inside, look for water marks, mold, or mildew to detect the leak.
2: How to repair a flat, leaky roof?
First, clean the area, then locate the damage, and then apply properly aligned sealant or rubber tape, or replace the damaged part.
3: How to apply roof sealant?
Clean the roof and repair the damaged part by applying sealant with a brush. Make sure it is properly aligned, and then let it dry properly.
4: What is the best way to seal a roof?
The best way to seal a roof is to choose the right sealant for your roof, buy it in premium quality, and apply it professionally.
5: How to close roof holes?
First, remove the damaged shingles over the hole. Then, cut the damaged area and use a piece of plywood to be your patch, and size it to perfectly fit the hole. Lastly, secure the path with deck screws or liquid nail glue.